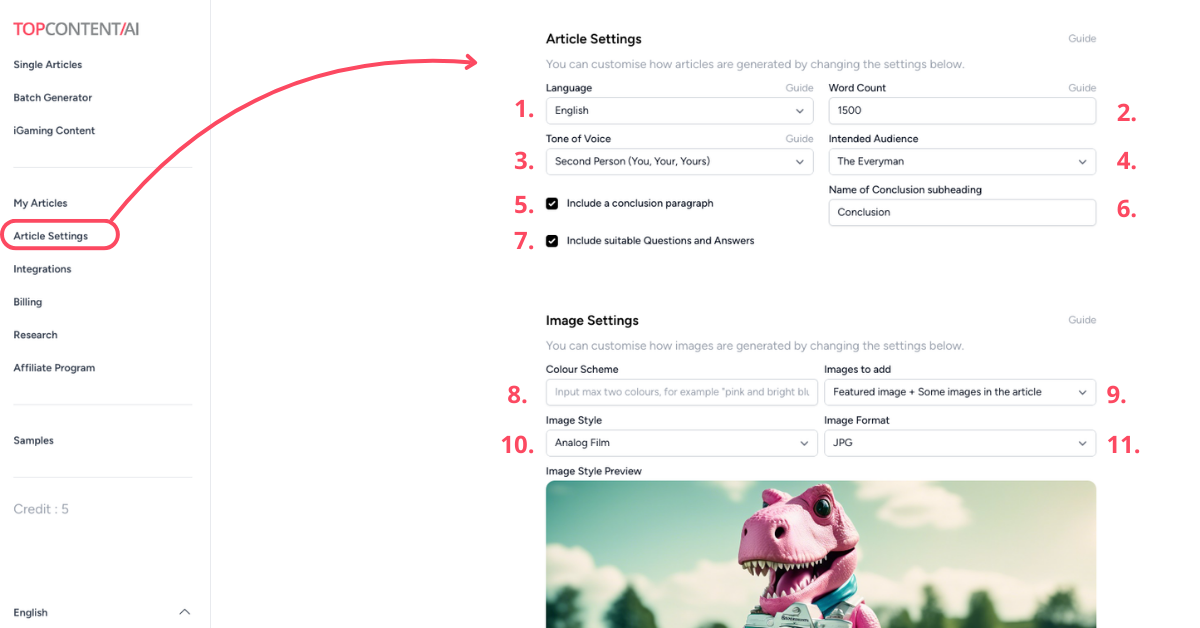
In the Article Settings, you can customise the default settings on how articles are generated.
You can set:
All Settings
Each setting in the image at the top of this guide is numbered. Below, we’ll explain what each setting does.
- Language: Set the language that you want the article written in. Read more about the Language setting.
- Word Count: Decide approximately how long your article will be in words. Read more about the Word Count setting.
- Tone of Voice: The Tone of Voice changes the perspective the article will be written as and how it will sound. In this guide, we’re using First Person Plural. Read more about Tone of Voice.
- Intended Audience: Fine-tune the Tone of Voice with the Intended Audience feature. Read more about Intended Audience in the Tone of Voice guide.
- Include a Conclusion Paragraph: Add a Conclusion paragraph at the end of the article that will summarise the article.
- Name of Conclusion Subheading: By default, the conclusion paragraph is called just that, Conclusion. Here you can change it to Summary, Key Takeaways, or whatever else you want.
- Include Suitable Questions and Answers: This adds relevant Questions and Answers at the end of the article. This is a great way to cover more long-term keywords and questions for People Also Asked in Google.
- Colour Scheme: If you have any preferred colours, you can select those in this section. For example, if the logo of your company is pink, you can specify this colour and the images generated will match this colour. You can input a maximum of two colours.
- Images to Add: Choose if you would like 1 image (the featured image) or if you would like images within the article too.
- Image Style: You can adjust how the image will look by changing the style. There are many different styles to choose from and you can see a preview of the selected style below in the form of a stylish dinosaur.
- Image Format: Select JPG or WEBP (if your website supports it) for lighter image files.
Read more about Image Settings.
Tip!
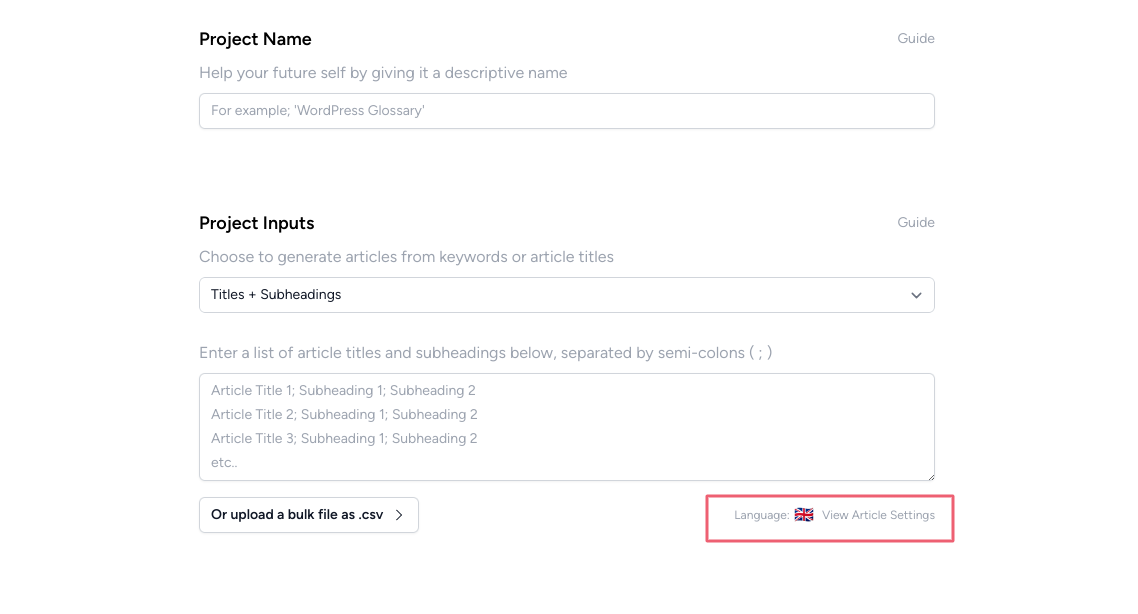
As we mentioned, this changes the default settings of the articles. You can still change the article settings for individual articles or projects by clicking the “View Article Settings” button next to the ‘Generate’ button. This will not change your default settings.

